

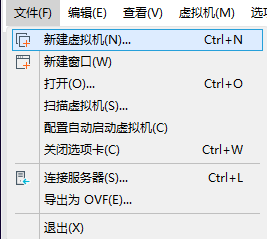
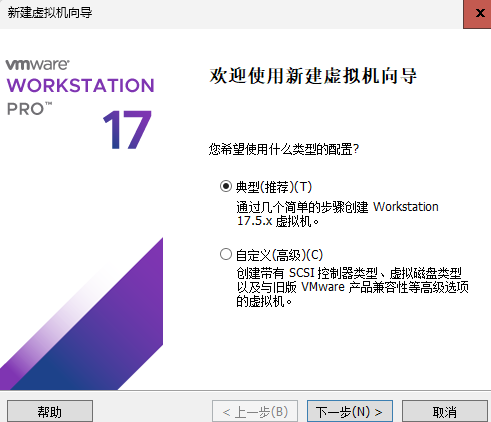
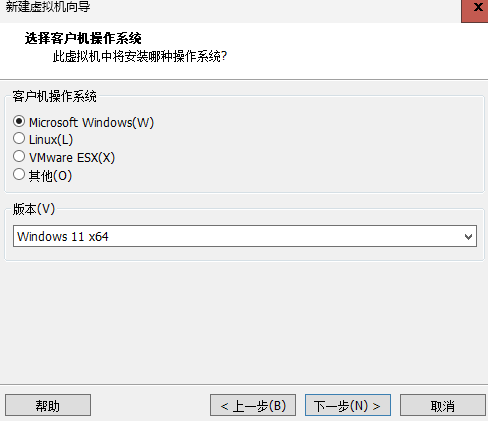
VMware安装Windows11
安装好VMware和下载windows11 iso镜像文件

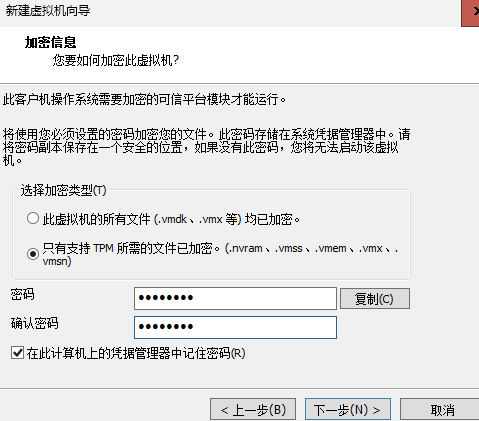
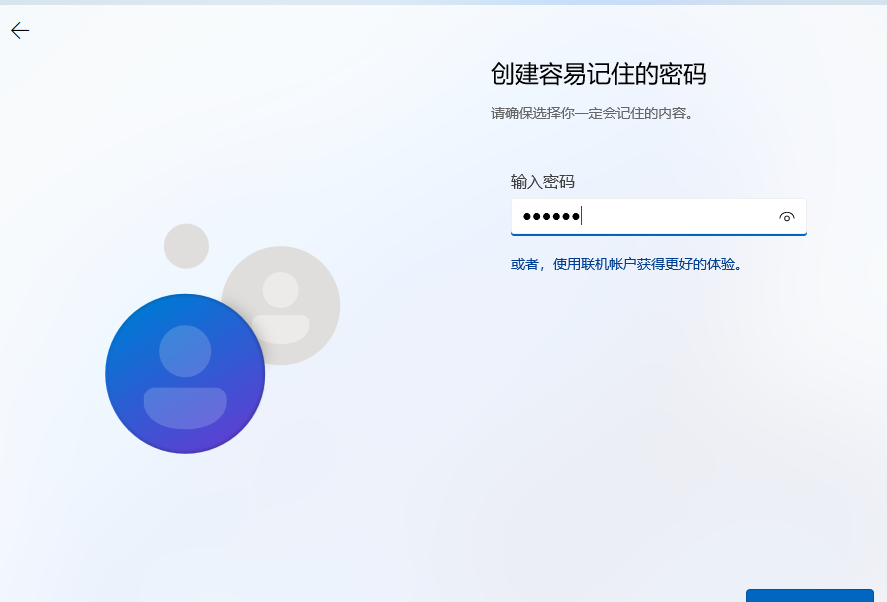
设置八位数字密码
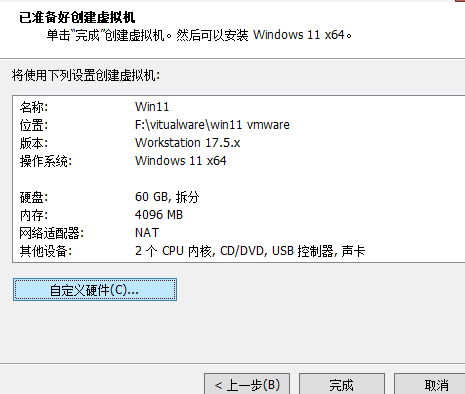
点击自定义硬件
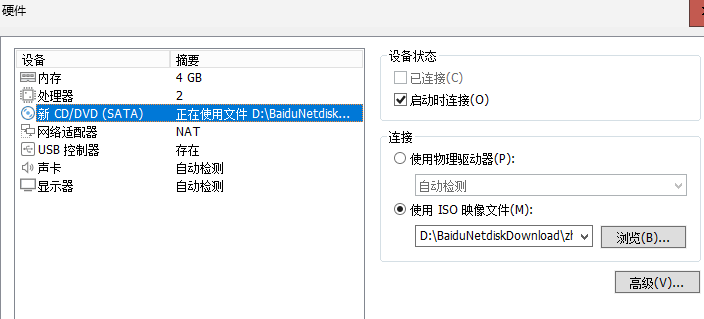
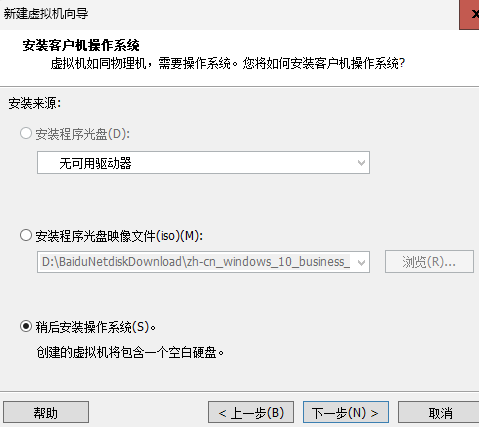
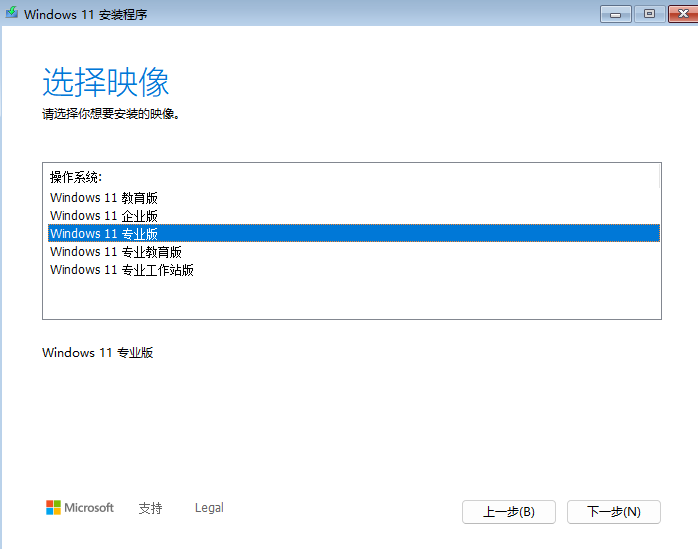
选择iso映像文件
完毕
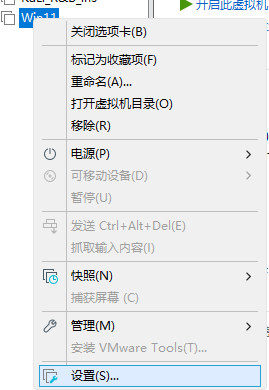
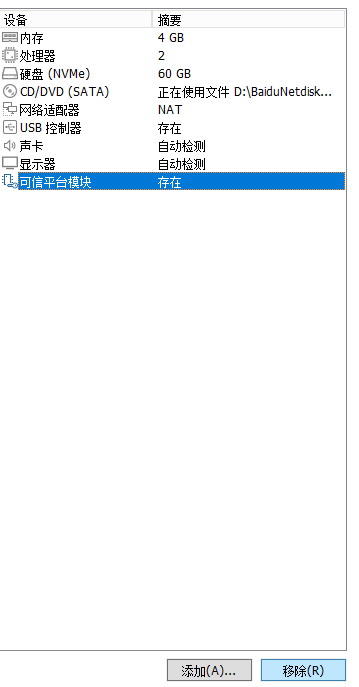
再次进入设置
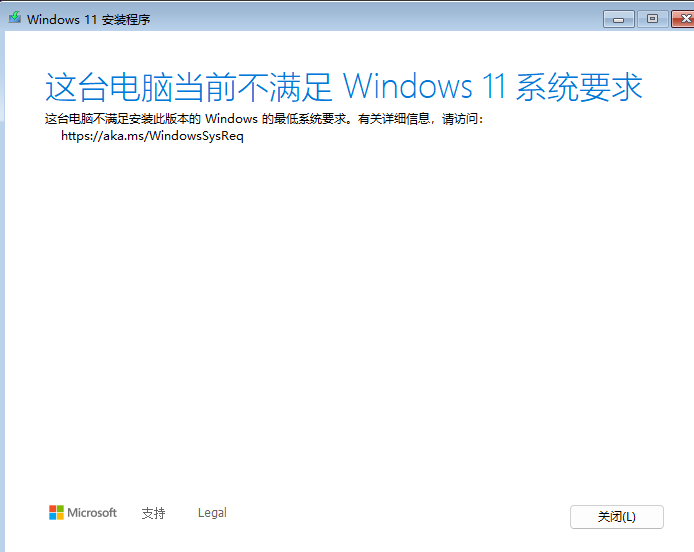
移除可信平台模块
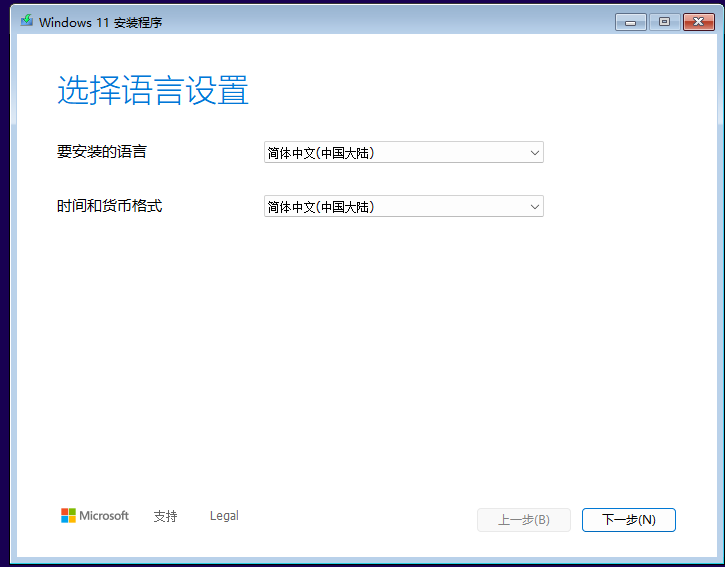
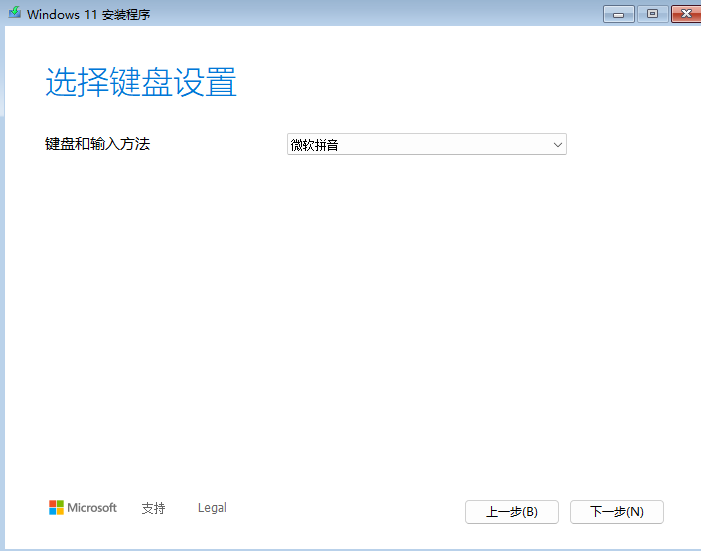
开启虚拟机

出现此界面 按下随意按键
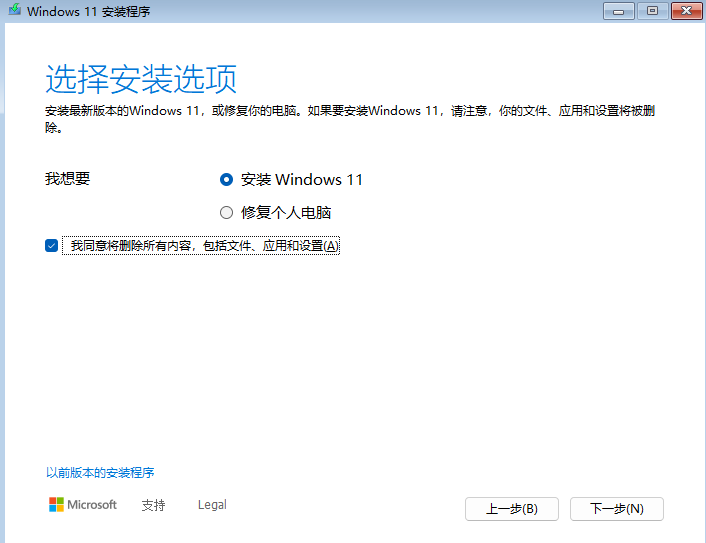
勾选 我同意将删除所有内容、包括文件、应用和设置
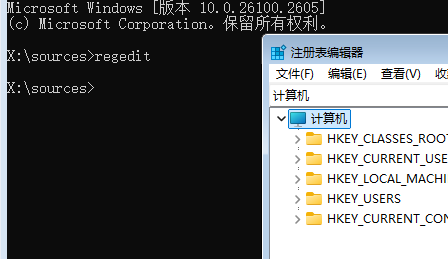
shift +F10打开cmd
输入regedit打开注册表编辑器
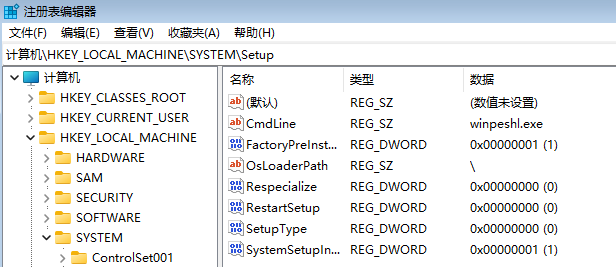
右键点击<font style="color:rgb(77, 77, 77);">Setup</font>,选择新建 > 项,新建一个名为<font style="color:rgb(77, 77, 77);">LabConfig</font>的项,并在其中创建以下DWORD值,将数值设置为<font style="color:rgb(77, 77, 77);">1</font>
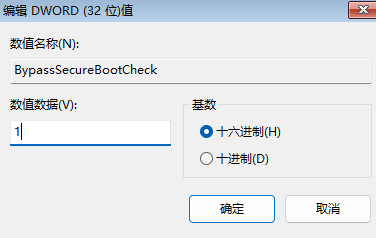
在<font style="color:rgb(77, 77, 77);">LabConfig</font>中,右键点击空白处,选择新建 > DWORD (32位)值,命名为<font style="color:rgb(77, 77, 77);">BypassSecureBootCheck</font>
双击我们刚刚新建的<font style="color:rgb(77, 77, 77);">BypassSecureBootCheck</font>,将数值修改为<font style="color:rgb(77, 77, 77);">1</font>,点击确定
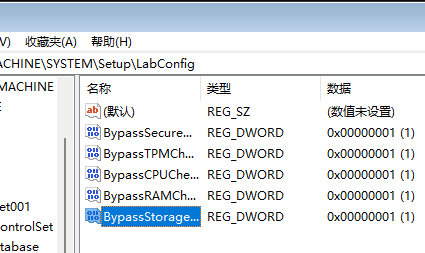
依次创建以下DWORD值并设置为<font style="color:rgb(77, 77, 77);">1</font>:
<font style="color:rgb(77, 77, 77);">BypassTPMCheck</font><font style="color:rgb(77, 77, 77);">BypassCPUCheck</font><font style="color:rgb(77, 77, 77);">BypassRAMCheck</font><font style="color:rgb(77, 77, 77);">BypassStorageCheck</font>
关闭注册表编辑器,输入exit退出,返回安装界面,继续安装
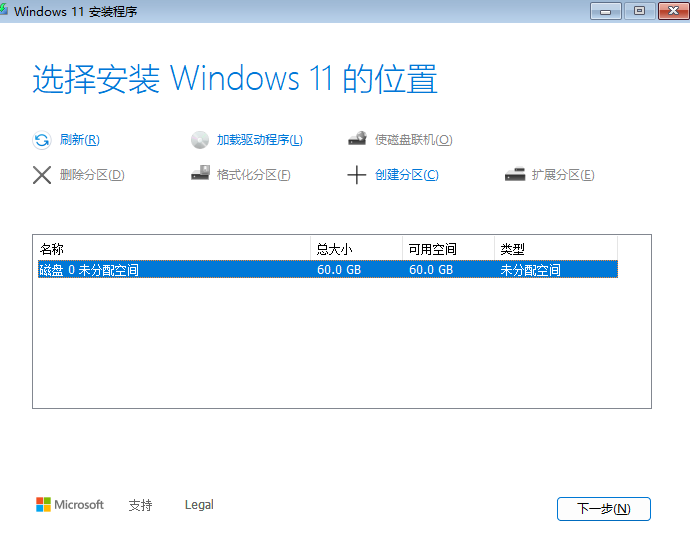
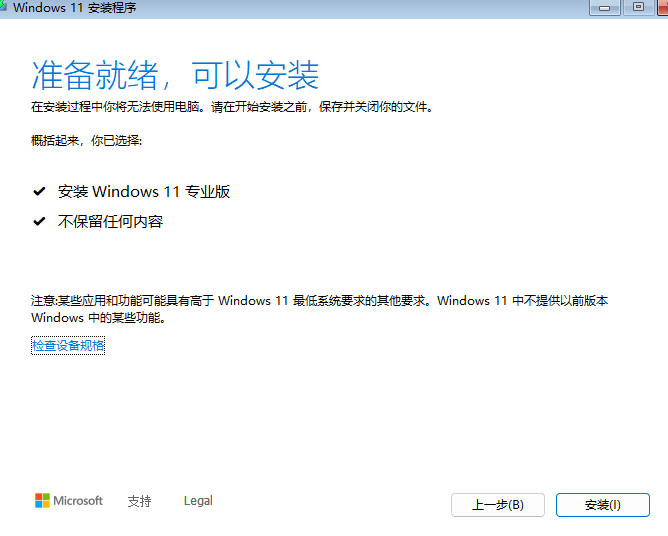
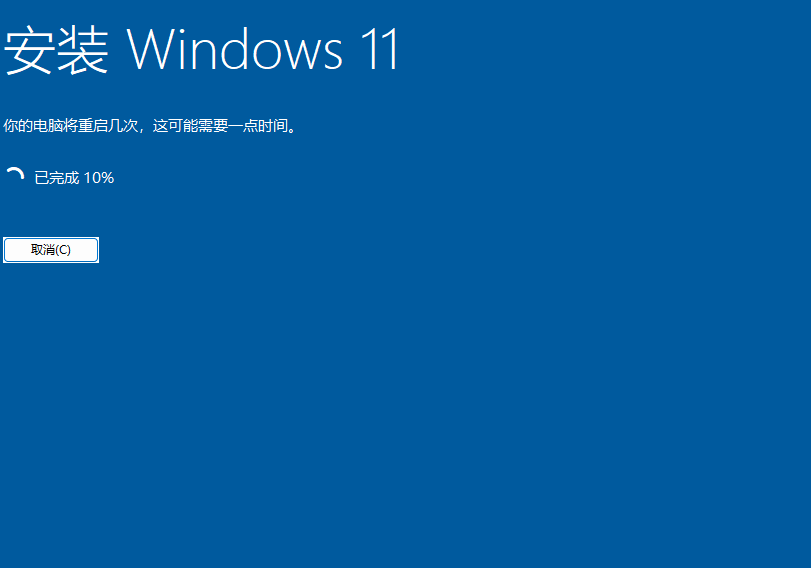

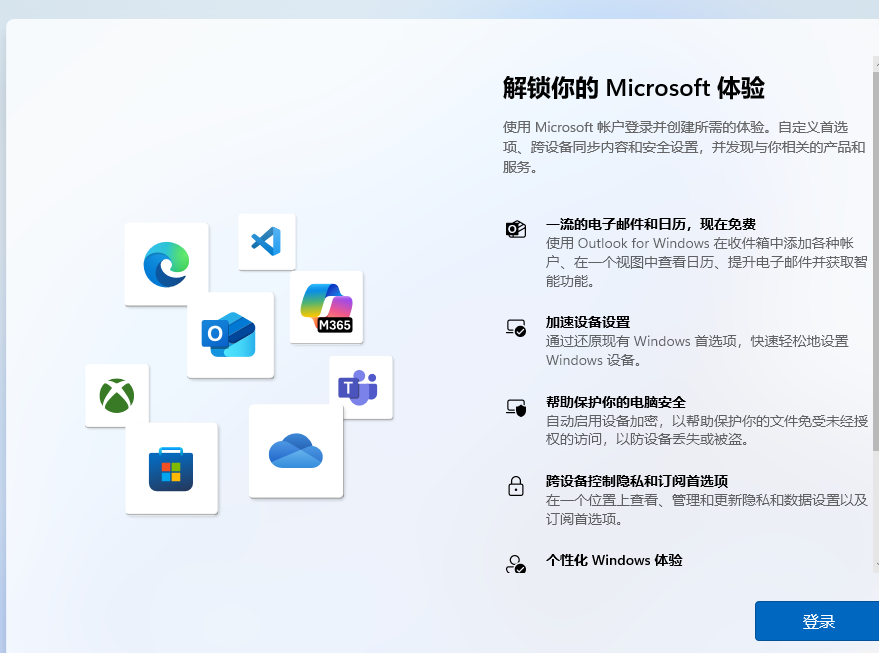
一直下一步到命名设备后再下一步


至此 安装完成。
更新: 2025-04-11 14:09:30
原文: https://www.yuque.com/yuhui.net/miao/sshmlabfgyyzgkyb
评论(0)
暂无评论